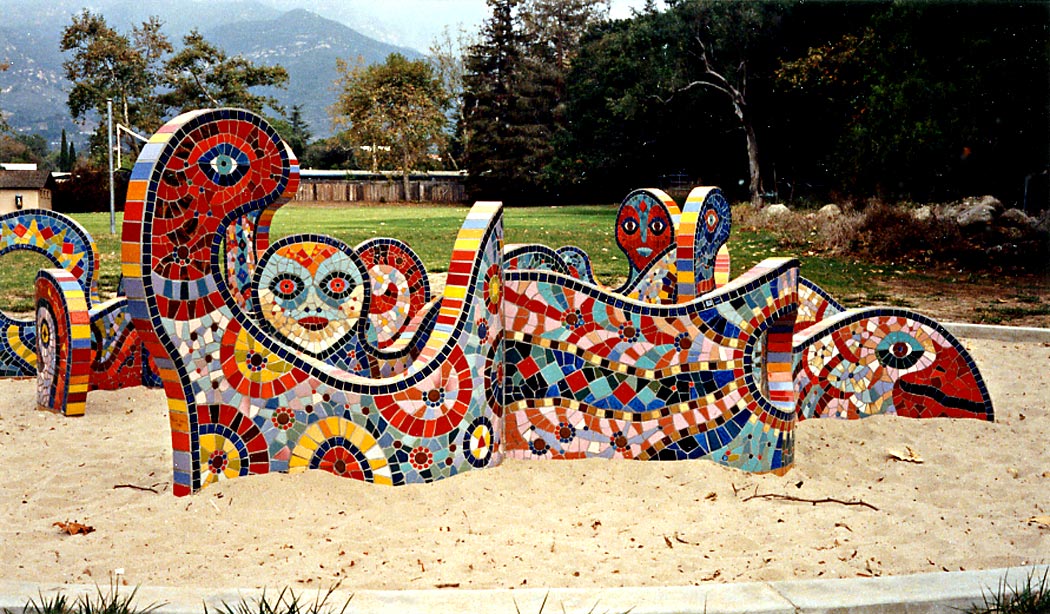
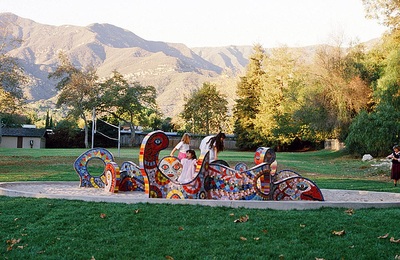
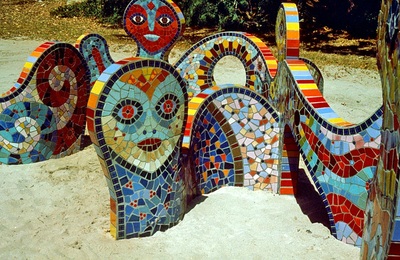
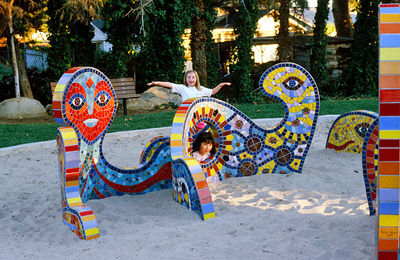
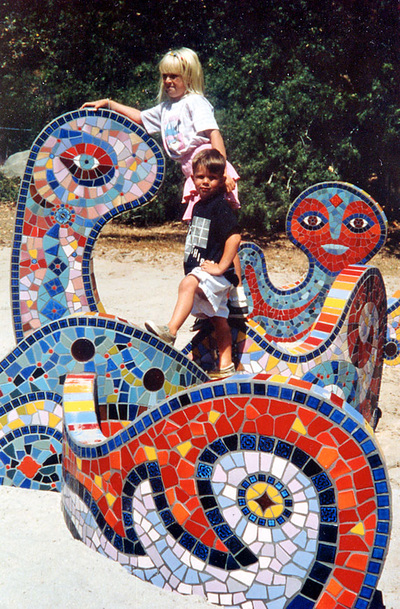
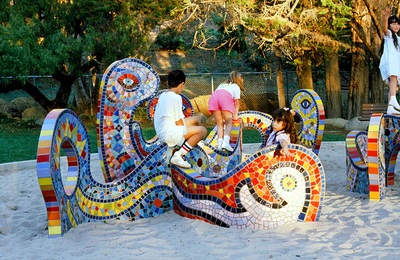
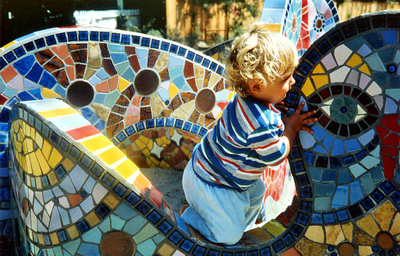
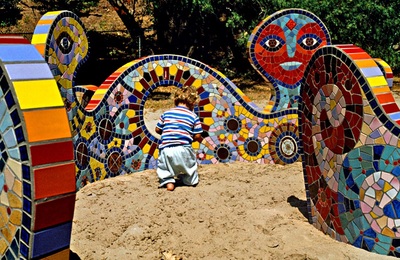
ANIMAZE 1989
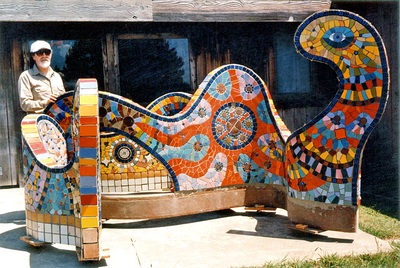
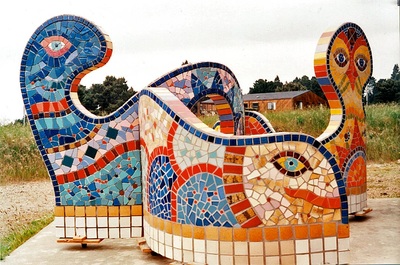
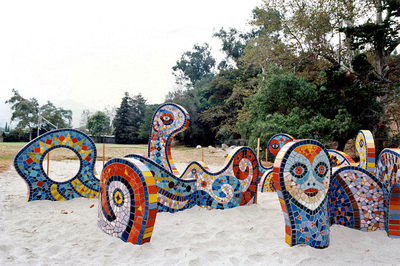
Animaze c. 18-ft. diameter
Manning Park, Montecito, CA
Manning Park, Montecito, CA
ANIMAZE was my most elaborate mosaic work, a playground sculpture for which I actually made 18 separate mosaics, and took 20 months of work from inception to completion.
1988
February 1: The Arts Commission of the County of Santa Barbara, CA, announced a competition for artist-designed playground equipment at two Santa Barbara parks.
April 1: Applications due; to include a statement and 10 slides of previous work.
May 10: I was selected as one of five finalists and told to submit a project site plan, a cost estimate, a completion schedule, and a sample of materials, for $500. The deadline for submission was June 10.
I designed a “maze”, to be made of a wood and fiberboard frame clad in layers of fiberglass and then covered with tile mosaics. For the required cost estimate, I sent design drawings and descriptions to Bill Kreysler of Kreysler & Assoc. in Penngrove, CA. Bill sent me a small section of fiberglass with a sand surface, which I tiled and used as my materials sample.
June 8: I sent my proposal to the Santa Barbara Arts Commission with all the components they required. I specifically stressed that the installation was to be the responsibility of the Parks Department, though supervised by me.
July 5: I received an official notice that I was selected to build my proposed project.
1989
July 14: I delivered Animaze to the site in Manning Park, Montecito, for installation.
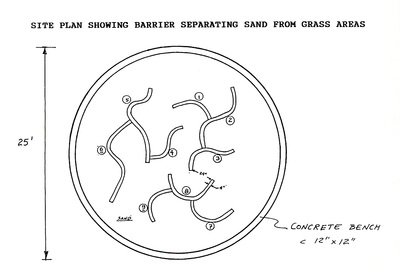
August 18: I received a request by the Park Department to design a seat wall to be erected around Animaze. I sent them a design for a 36 ft. diameter circular concrete seat that they built around the sculpture.
November 18: The Santa Barbara Art Arts Commission officially dedicated Animaze in Manning Park, about a year and a half after I began working on it.
1996
December 2: Seven years after its dedication I was notified by letter “that Animaze had been permanently removed from Manning Park.” Vandals had broken and pried off several tiles that had to be replaced, and a child had been hurt while playing on the piece.
Thus ended the brief life of Animaze, my most elaborate mosaic project.
DESIGN
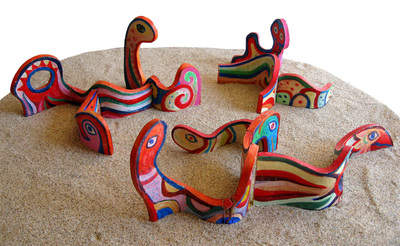
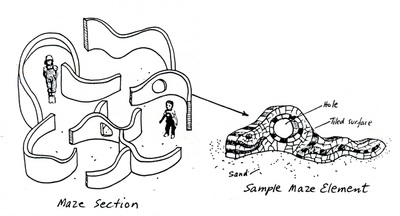
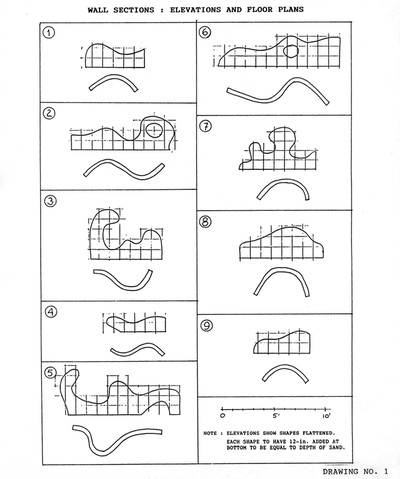
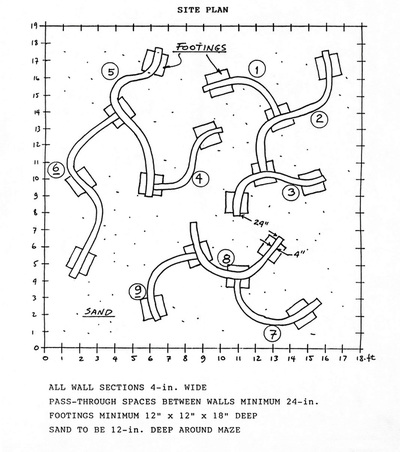
As part of my proposal I submitted several drawings of the project, as well as slides of a scale model I had made.
As part of my proposal I submitted several drawings of the project, as well as slides of a scale model I had made.
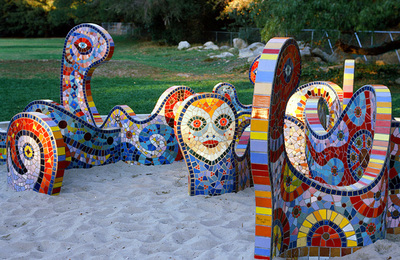
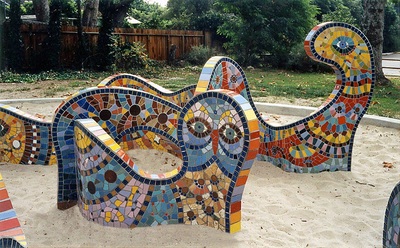
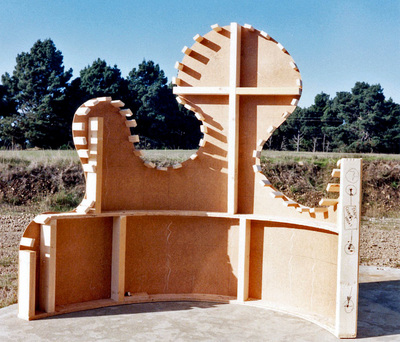
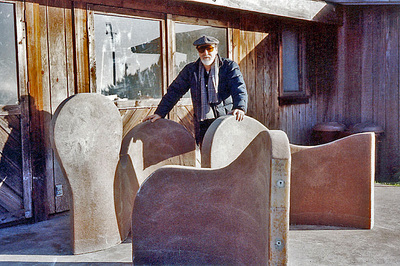
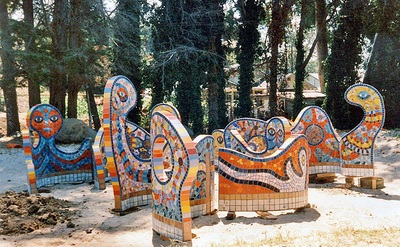
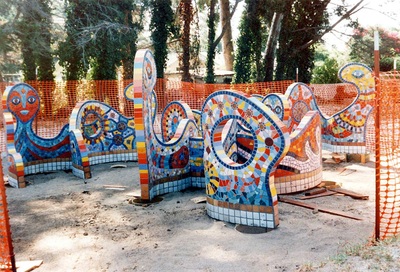
I based my play sculpture for small children on the idea of a maze made of curved sections, a maze that was open to entry and exit for the exploration of different spaces and not for getting lost in. I devised a structure of three sets of three wall units each. Each set was free from the other sets and each set was self-supporting, with the units attached to each other.
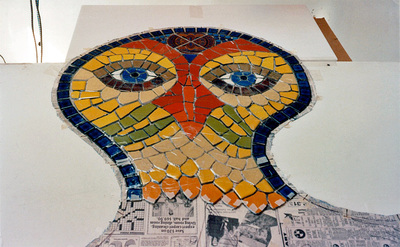
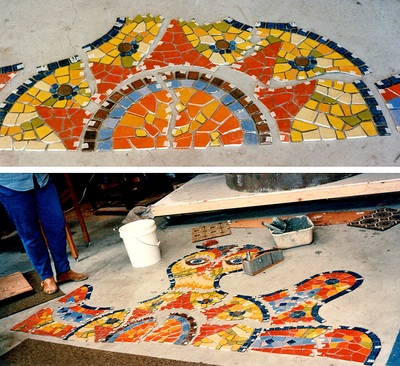
I designed the nine wall elements of the maze as individual “creatures”; the two sides of each wall were to be different, so in effect I was to make 18 different mosaics.
I designed the nine wall elements of the maze as individual “creatures”; the two sides of each wall were to be different, so in effect I was to make 18 different mosaics.
FABRICATION July 1988 – July 1989
THE FORMS
I enlarged my scale drawings of the nine “creatures” onto kraft paper and added a one-foot high band at the base of each section. This band would be submerged in the bed of sand that was to be spread around the maze in the playground.
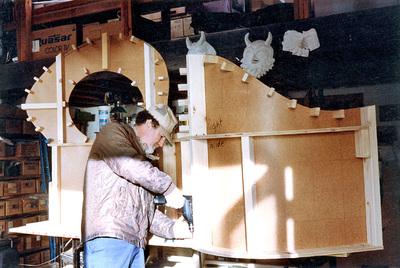
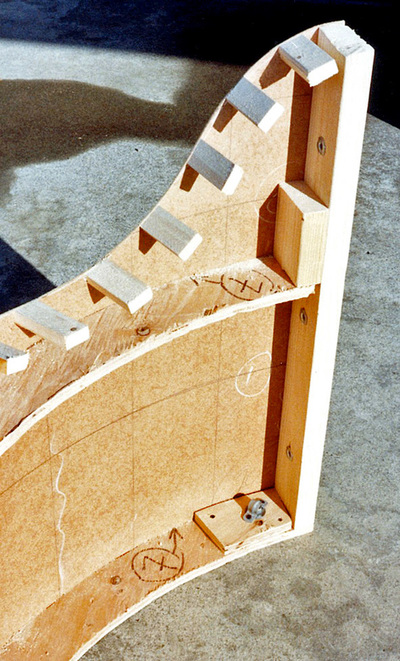
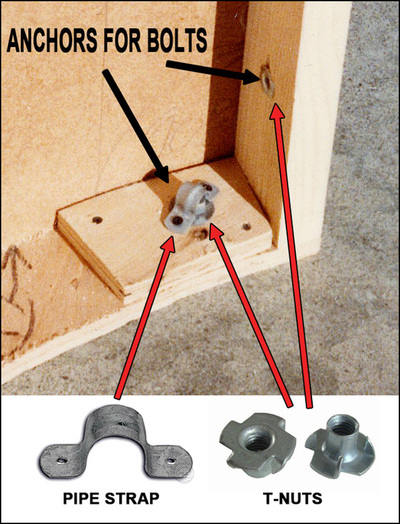
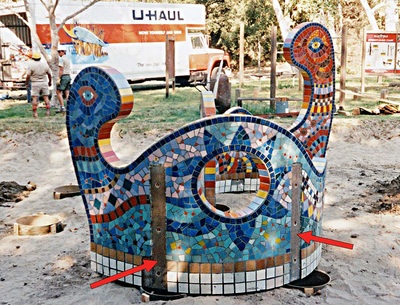
I built the nine wall pieces from high-density fiberboard over wood frames. Some of the pieces had openings for the kids to crawl through. Before closing in each piece with its second side I marked and drilled all the holes for the bolts and anchors that would attach the pieces to each other. I also drilled holes for the L-bolts on the bottoms of the pieces; these bolts would be set as anchors into concrete footings on the site. On the inner side of these holes I fastened threaded T-nuts to receive the bolts. For the L-bolts I capped the T-nuts with a normal hex nut and a pipe strap.
THE LAYOUT PLAN
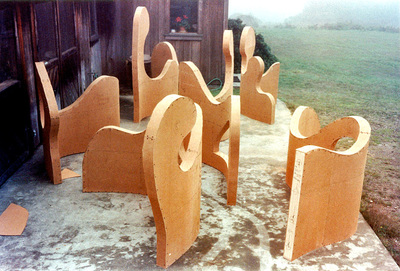
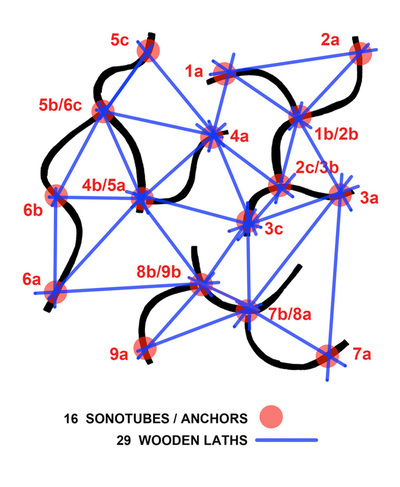
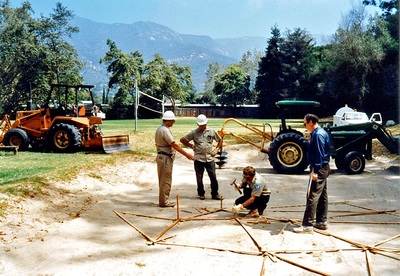
I had to solve the problem of how to position the 16 anchoring points for the whole structure on the site. To do this, I bolted the nine maze pieces together and arranged them in front of my studio following the composition I had designed in my model.
Then I marked the positions of the 16 anchor points on the ground: they formed a veritable constellation. It would have been crazy to try to plot out these points in measured distances and angles as a floor plan and then stake them out exactly on the site.
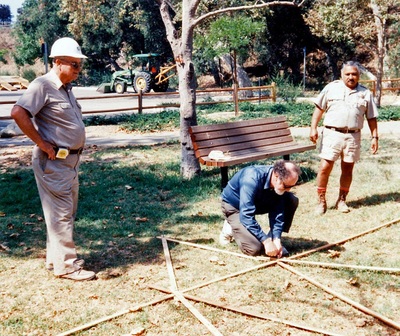
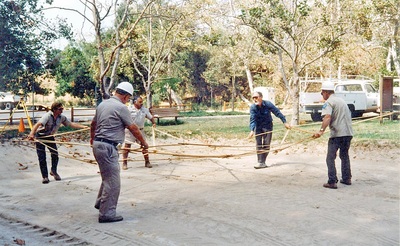
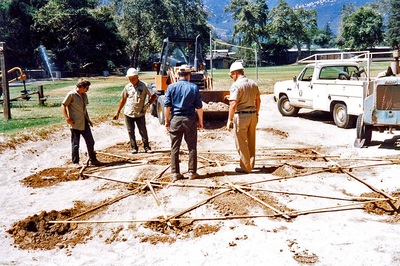
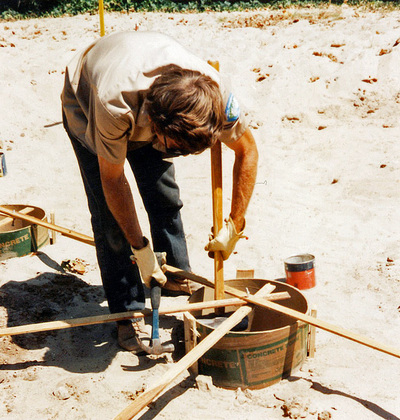
Instead, I devised a much simpler solution. I removed the nine maze pieces from the area and connected all the anchor point marks with straight lines, forming triangles, the most stable of geometric figures. I then set wooden laths cut to size over these lines and connected them at their intersections with bolts. With 29 interconnected laths, I now had an exact and rigid “map” of all 16 of my anchor points, a “map” that could be moved as a unit without compromising the anchor points’ placements. I numbered all the laths and the intersecting points so I could take the “map” structure apart for transport and reassemble it properly on the site.
This device became significant when I had to decide where to place the maze on the site, and how to orient its placement.
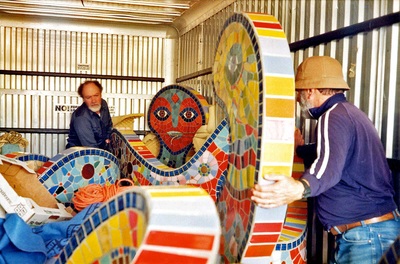
The nine maze pieces were shipped to Bill Kreysler’s shop, where they were clad in layers of resin-coated fiberglass (fiber-reinforced polymer: FRP). The final layer of resin was mixed with coarse sand to provide a mechanical grip for the epoxy mastic that was to hold the ceramic tiles on the surface.
THE MOSAICS
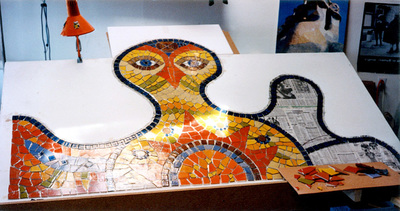
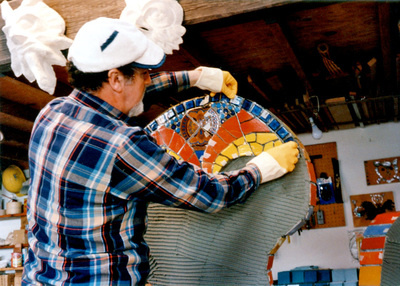
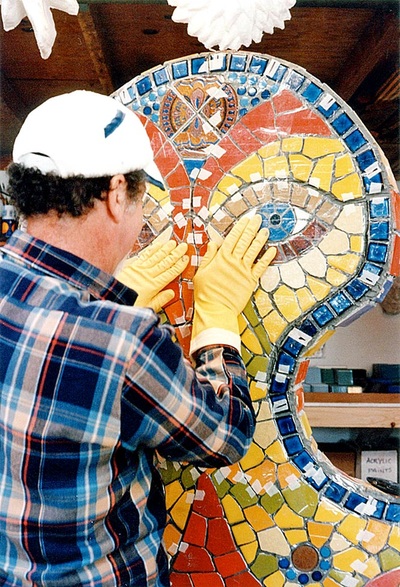
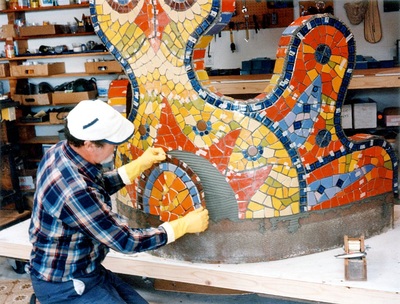
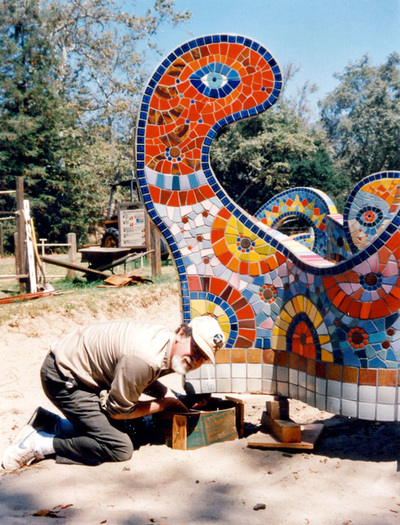
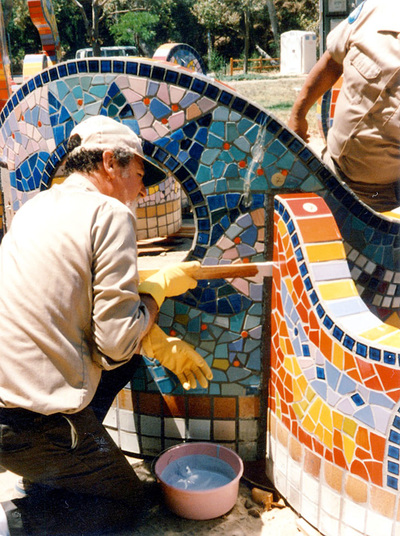
I made full-size paper templates of all 18 sides of the nine forms, including all openings, and created my mosaics on these patterns the same way I had with my flat, rectangular mosaic works. After taping the finished mosaics and cutting them into sections, I set them onto the resin-and-sand-coated pieces in a spread of epoxy mortar.
In several places, a tile covered a hole I had drilled for the bolts that were to attach the maze pieces to each other. Before setting the taped tile sections, I removed the hole-covering tiles, numbered them, and set them aside. These tiles would be set to cover the bolt heads at the installation.
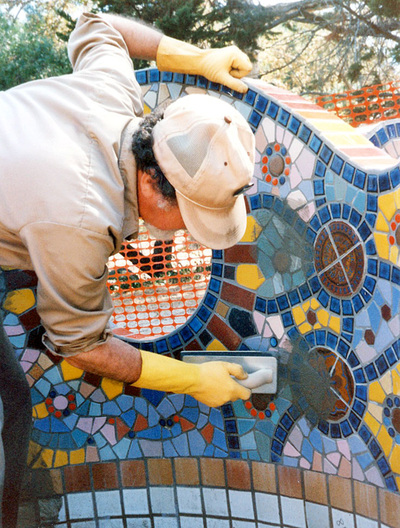
When the mortar was set, I removed the clear tape and grouted the tiles, grinding down any sharp edges that were still exposed.
The edges of the walls were covered by a band of colorful tiles, and the bottom one-foot base of each wall’s side was tiled in neutral colors of 4x4-in. tiles. These would be covered by sand.
INSTALLATION
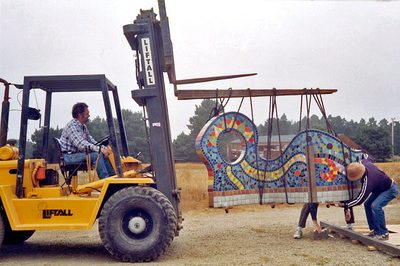
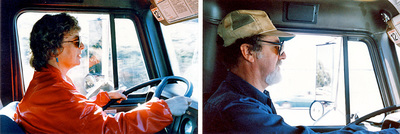
When all of this work was done, we loaded the 9 mosaic-covered wall pieces into a 26-ft.-long U-Haul truck, and Ruth and I drove them to the site in Montecito, just south of Santa Barbara. It was an eight-hour drive, and we arrived in Montecito on the morning of July 24.
When all of this work was done, we loaded the 9 mosaic-covered wall pieces into a 26-ft.-long U-Haul truck, and Ruth and I drove them to the site in Montecito, just south of Santa Barbara. It was an eight-hour drive, and we arrived in Montecito on the morning of July 24.
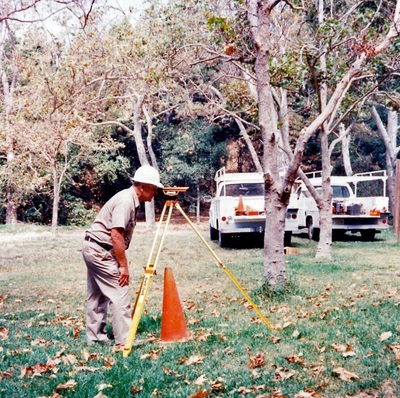
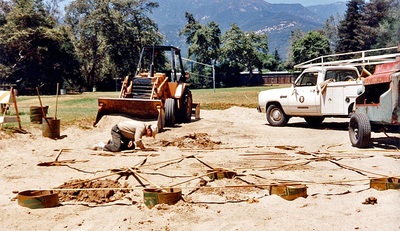
I assembled my lath “map” and, with several Park Department workers who had been assigned to the installation, moved it to where I decided to place the maze. Next the 16 anchor points were staked out and numbered.
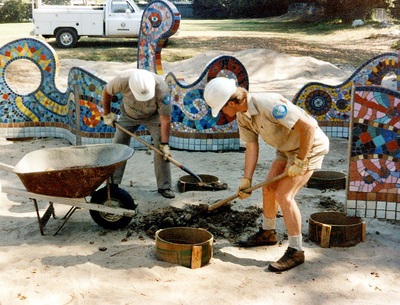
The quick and easy part of placement was now over. Then began the arduous process of drilling the holes in the ground to hold sections of Sonotube into which the concrete footings would be poured. It turned out that unknown to those in charge, the site had once been a construction dump of some sort, and the big drill’s auger kept hitting buried concrete rubble. In fact the auger broke and had to be replaced more than once. I was very relieved that I had insisted on not being responsible for the installation.
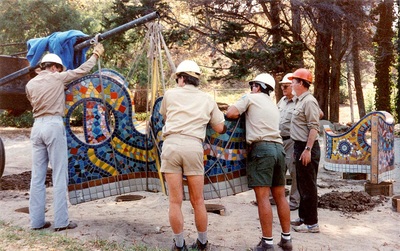
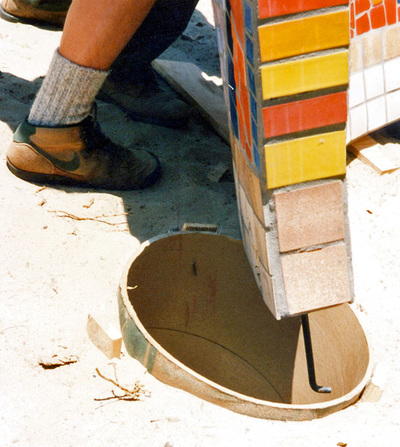
Once the holes were drilled in the ground, the Sonotube sections were placed in them, numbered, and leveled. The nine maze pieces were then unloaded from the truck and placed into their proper positions. The holes for the L-bolt anchors in the bottom of each maze piece were now directly over the Sonotubes. We inserted the L-bolts into these anchoring holes and screwed them to the fixed T-nuts inside the frames.
I then attached the abutting maze pieces to each other with epoxy mortar and bolts, and covered each bolt head with the appropriate tile I had left out for this purpose. Then I grouted all these areas.
Finally the Sonotubes were backfilled with concrete and the maze was solidly grounded.
We left Montecito before the sand was brought in and spread 1-ft. deep in and around the maze.
DEDICATION
On Sunday, November 18, 1989, the Santa Barbara Arts Commission officially dedicated Animaze in Manning Park. The sand around the maze was now contained by the circular concrete seat wall the Parks Department had built from my design.
On Sunday, November 18, 1989, the Santa Barbara Arts Commission officially dedicated Animaze in Manning Park. The sand around the maze was now contained by the circular concrete seat wall the Parks Department had built from my design.
